
![]()
![]()
Do-It-Yourself information for the modifications I've completed
![]()
Do-It-Yourself information for essential wear and tear items
![]()
Articles covering all the ways to maintain your car
![]()
All about the BMW 330ci
![]()
Various links that I've found valuable
![]()
A few pictures of my car and some others
Homelink Garage Door Opener Install
Warning!
The information provided at "Bmw330ci.net" web site is "as is" with all faults and without warranty of any kind, expressed or implied, including those of merchantability and fitness for a particular purpose, or arising from a course of dealing, usage or trade practice. "Bmw330ci.net" web site nor it's owner/creator, can not and does not provide any warranty, expressed or implied, about the accuracy or use of information found on "Bmw330ci.net" web site. The user assumes that risk.
THE USE OF THIS INFORMATION IS FOR YOUR REFERENCE ONLY. BMW330CI.NET AND ITS OWNER/CREATOR DISCLAIM ALL LIABILITY FOR DIRECT, INDIRECT, INCIDENTAL, OR CONSEQUENTIAL DAMAGES OR INJURIES THAT RESULT FROM ANY USE OF THE EXAMPLES, INSTRUCTIONS OR OTHER INFORMATION ON THIS PAGE.
Why install a homelink garage door opener?
I personally find lugging a garage door opener with you in the car to be quite annoying. The homelink is a versatile garage door opener with many exiting possibilities. Plus it is designed to fit perfectly into your car, without hanging down from your visors. I say it's quite worth it.
Difficulty
This is not really a difficult job but if you can't use a utility knife (razor blade) without cutting yourself, this job might not be for you.
Parts Needed
(You don't have to buy a new trim piece, but since I plan on taking it out of my car if I eventually sell it, I decided to buy a new one. Plus I wanted some insurance in case I messed things up. Nevertheless, its all up to you. The basic steps are all the same. Note: this part number is for models with a sunroof only!)
BMW OEM Homelink Garage Door Opener (BMW P# 82-11-1-470-125) $145
Tools Needed
Screwdriver
Utlity Knife
Butter Knife
Homelink Instructions
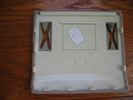 New trim piece 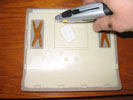 Scoring the trim piece 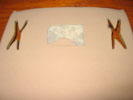 Cutting and removing the fabric 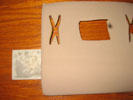 The removed plastic rectangle |
Prepare the new trim piece |
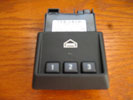 The homelink 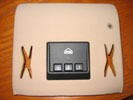 The installed homelink |
Install the homelink |
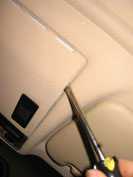 Carefully pry with a screwdriver on the back side of the trim piece 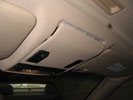 The trim piece will pop out 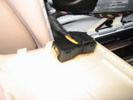 Closeup of the sunroof switch wire 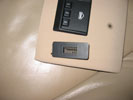 Reinstall the vent 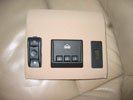 Reinstall the sunroof switch |
Remove the old trim piece, and transfer the vent and sunroof switch |
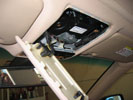 Notice the homelink wire in the back 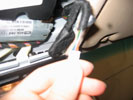 A closeup of the homelink wire 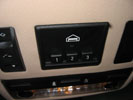 The installed homelink 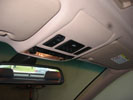 A homelink ready to go |
Locate the sun roof wire, reattach all the wires, and reinstall |
Review and Conclusions
It works great and I am very pleased. The programming instructions are quite easy and I've had no problems synching it up with my rolling code garage door opener (just make sure to use the training mode on the back of your garage door opener itself). Someday I'll have to get some other devices so I can turn on my lights in the house from the comfort of my car. Till them I will just enjoy being able to not lug around that garage door opener. To me the price is worth it, but to each their own opinion. I'm happy and that's good enough for me!
Disclaimer
All product manufacturer logos are property of their respective manufacturer.